Superscript
Seven Tips for Setting up an Impromptu Garden Art Studio
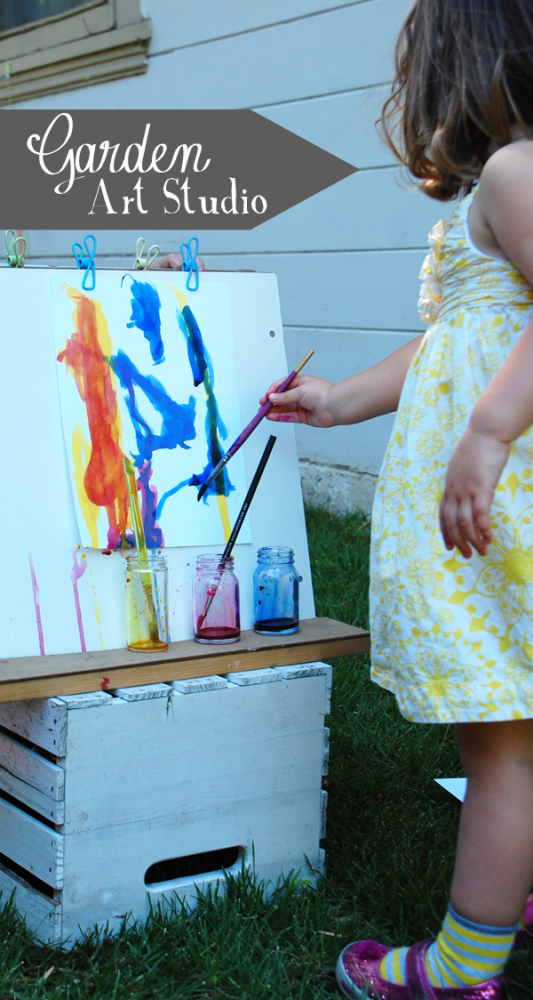
When I was in college I always loved those teachers who took their classes outside on a nice day. So why not recreate that magic with our kids? Did you know that most children don’t spend enough time outdoors?
The Benefits of Making Art Outdoors
Being outside is calming, restorative, and resets the mind.
Nature is fodder for the imagination.
Getting messy isn’t an issue.
You can get up water some plants/play/dig a hole, and then return to making.
Our Process
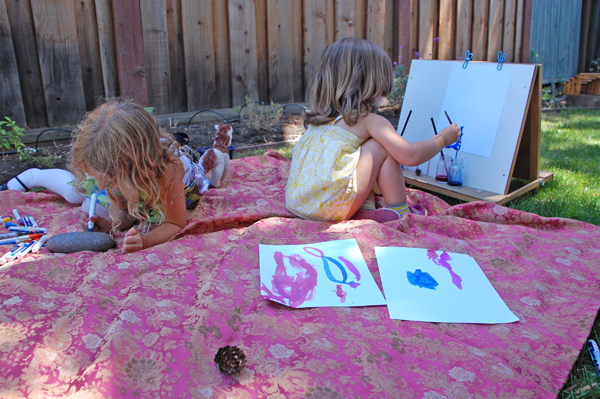
I offered my children a few after-lunch options that included reading in the garden, making art outside, and going on a hike. Can you tell that I wanted to spend some outdoors? The weather was that incredible.
My older daughter liked the idea of setting up a blanket on our lawn and helped me hatch a plan to create an art studio picnic.
Within moments of setting it all up, which took us about ten minutes, the girls were deep into making. At this point I gleefully broke out my new garden sheers and tackled mountains of overgrown plants. Hack hack hack. Things had gotten so out-of-hand in my poor garden, which now looks rather normal, that it initially appeared quite bald as I managed to fill our entire composting bin with greenery.
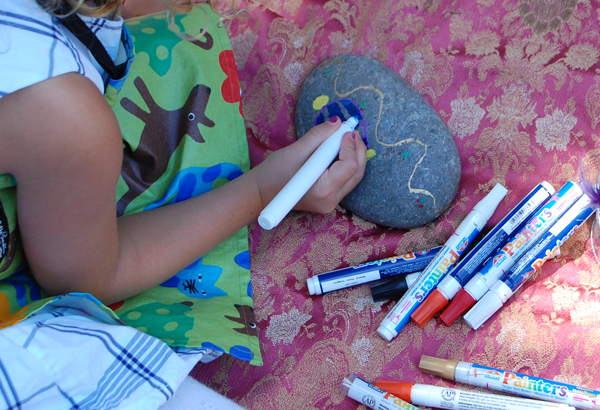
Meanwhile, I’d pop over to check on the kids periodically and captured 4-year old N as she decorated a big river rock with paint pens. More details on drawing on rocks over here.
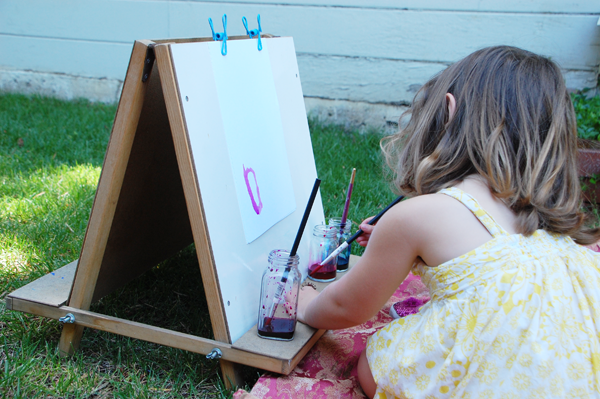
Her little sister has been invested in painting lately and we knew that she’d enjoy easel painting. If you really can’t get outside, 10 Steps for Easy Indoor Easel Painting will help you bring the magic indoors.
I also have a stand-up easel, but I thought this would be a nice way to have the girls work side-by-side. It was a great strategy until the watercolor jars were knocked over onto the blanket. Ahem, we only own washable paints for moments like this.
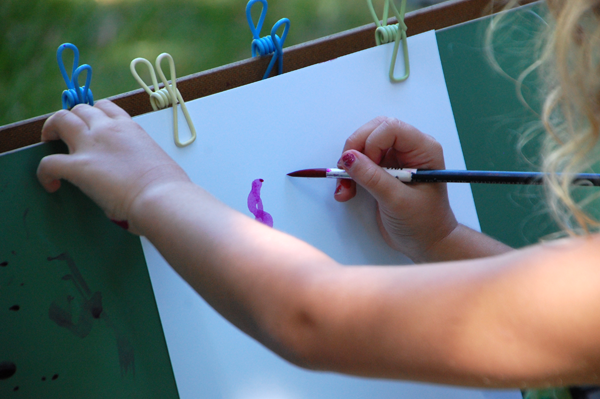
Also, this little easel has a tray to hold paint on both sides and I knew both kids would want to paint at the same time. All in all, it was a fantastic afternoon and just the sort of experience that I imagine we’ll invest in all summer long.
7 Tips for setting up a Garden Art Studio
First of all, it’s important to address that you don’t need a sprawling lawn to make this happen. A patio, stoop, or balcony work just fine. The important thing here is to get outside and enjoy some fresh air!
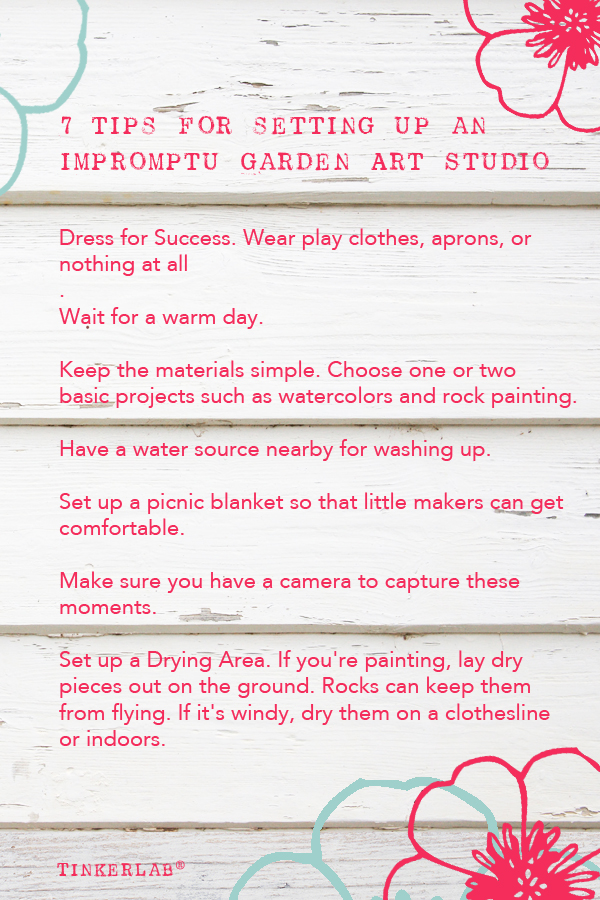
Wear play clothes, aprons, or nothing at all.
Wait for a warm day.
Keep the materials simple and choose one or two basic projects. We chose watercolors + easel and rock painting.
Have a water source nearby for washing up.
Set up a picnic blanket so that little makers can get comfortable.
Make sure you have a camera to capture these moments.
If you’re painting, lay dry pieces out on the ground to dry. If it’s windy, dry them on a clothesline or indoors.
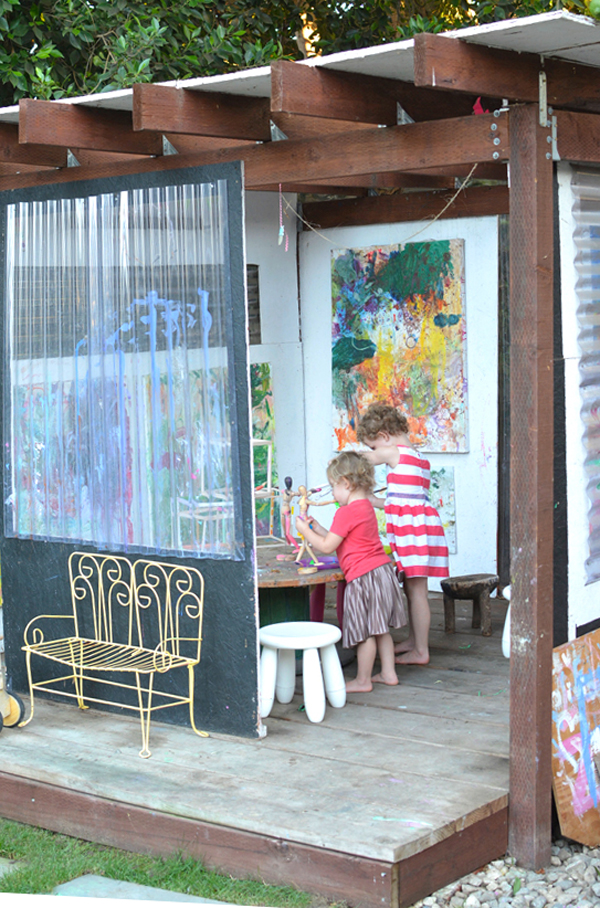
Set up a Permanent Outdoor Art Studio
Take a look at Meri Cherry’s inspiring outdoor art studio for ideas on how to build or set up a more permanent outdoor maker space.
Outdoors with Kids Resources
Tape paper to the wall for an Instant Outdoor Art Studio
11 Classic Summer Camp Crafts for Kids
Start a Family Nature Club with this Nature Tools for Families Toolkit (FREE download) from Children and Nature Network. The Children and Nature Network is run by Audubon medal winner Richard Louv who wrote the bestseller, Last Child in the Woods.
If you’re in the Bay Area, get your hands on a copy of Bay Area, Best Hikes with Kids: San Francisco Bay Area by Laure Latham. I just got it and it’s awesome!
A fabulous roundup of ideas for building outdoor forts and shelters for kids, from Let the Children Play.
Tips for a nurturing and fun art experience
Provide vibrant open-ended, age appropriate materials with creative tools that will maximize the impact of their curiosity. Little ones seldom use the art materials the way you think they should be used but that’s okay, Encourage exploration of materials and offer them over and over again. Repetition, as with many things at this age, builds skills and confidence in children. ”To strengthen children's perceptual skills, offering items such as play dough, felt, paint, imaginative collage and more provides an exciting sensory filled creative experience.
Organize materials for easy access and exploration. Use see-through unbreakable containers to encourage children to try different media and tools. Store select items on reachable shelves to foster children's independent choice.
Encourage children to pursue their interests and ideas. Let them initiate their own activities, rather than always following ideas that you suggest. Using their special interest areas to nurture their excitement and cleverness is always a good idea,
Share in their excitement about their discoveries. If they speak, listen attentively to what they say, write down their comments, or document the process with photos or a video recording. Share and display the creations that your children are proud of.
Remember, your enthusiastic, accepting attitude reassures and inspires the budding artist. It lets them know that it is all right to create and explore freely, without worrying about always making a finished product.
Preparing for an Excellent ARTventure
EXPLORING PROCESS ART WITH KIDS
Prepare for a fabulous art experience! Cover surfaces with newspaper or plastic tablecloths. Provide old shirts, aprons, or smocks to cover clothes. Have water, paper towels, soap, or rags at the ready. Discuss any guidelines to keep paint, glue, and markers away from furniture or walls. Put everything they will need on a tray or in a plastic tub. Ensure small items are not accessible to very young children and supervision is used as needed.
Set up your craft space. If you can, find a designated space for creating. If space is limited, consider a small rolling storage container that can be wheeled outside or stored in a closet. Try to create near a sink for easy clean up.
Compile a selection of safe materials to offer. Keep in mind the age of your child when planning activities. For specials consider their creativity level and look at the suggestions below. Always look for tools and supplies that peak their interests. If the choice is a name brand or markers with cars or butterflies, choose the one that complements their interest. Materials can include: paper in a variety of colors, textures and sizes, pencils, markers, crayons, watercolors, multiple colors of tape, glue, stickers, and collage materials. You do not need to offer all of the options at once. Remember, sometimes less is more.
Organize your materials. Organizational systems keep things neat and appealing, and inspire children's creativity. Use tackle boxes, small metal flowerpots, containers with lids, boxes, small baskets, small bowls, and muffin tins to corral like items and make clean-up easy. All pick out to reflect your child’s interest and ability.
Present a prepped activity on a tray. For example: cut or rip construction or tissue paper in a variety of colors into small pieces. Provide your child with a small amount of glue in a disposable cup, a thin paint brush, and paper. You can vary what you offer. Think about three-dimensional materials, such as paper towel tubes or cardboard boxes, and other collage materials, such as leaves, flowers, sequins, small tiles, or pieces of fabric.
Encourage creative independence. Process art is about your child forging his or her own path. If you feel tempted to give your child instructions on what to make, try stating, "Here are some art materials I collected for you. Let’s see how you use them."
Discuss your child’s creations and creative process. If old enough, try engaging in a conversation about your child’s art helps him or her to become more cognizant of choices and actions, allows for verbal expression, and boosts vocabulary.
Try saying, "Tell me more about this," rather than, "What a beautiful house you drew." You may just learn that what you thought was a house, is actually, "a friendly monster ready to play with his friends."
Remember, there is no right or wrong way when it comes to process art projects for kids.
So complimenting them on their creativity or how they creatively used a specific tool or supply always makes their day! It’s always worth your time.
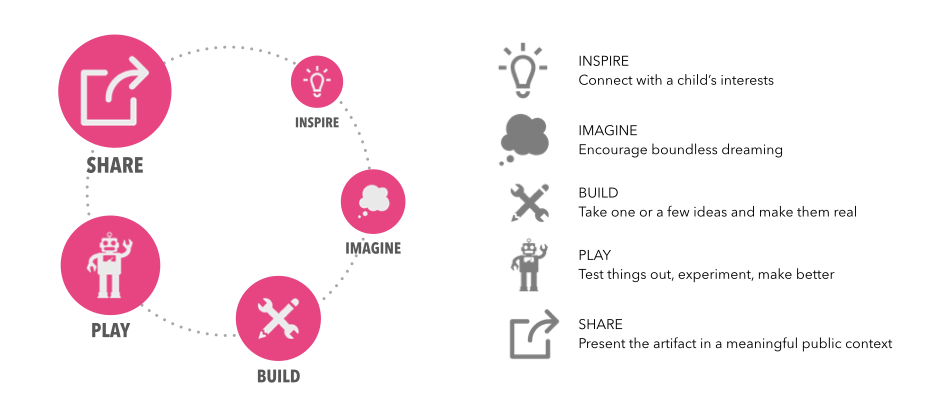
The Process of Creative Play is easily fostered by tapping into a child’s natural creative powers. Though decades of research supports the power of Creative Play, it’s important to remember it’s a natural process for children, requiring few resources and little facilitation.

Easy Open-Ended Art Activities
Creative Play often sparks some curiosity and imagination and the combination is magical for them––they find it irresistible!
Textured Art
During the first year of life, a baby's senses are her primary way of interacting with and exploring the world around her life. Textured art activities provide them with opportunities to explore a range of textures and objects through touch. Help your baby to press fabric swatches, large buttons, ribbons, felt shapes and other textured pieces onto the surface of their project. Avoid using small items, since they are a choking hazard. When the collage is finished, spray it with clear acrylic sealer to make the artwork permanent for display. CLICK HERE for felt ideas
Imprint Art
Help your baby create works of art ripe with depth, dimension and style with simple tools such as sponges, barbecue brushes, stamping tools, and mini paint rollers. Simply dip the tool into a shallow dish of non-toxic paint, pat the excess off and encourage your baby to press, whisk or roll the tool across the projects surface. Create seasonal artwork by painting and stamping natural objects onto the canvas or dough -- fall leaves from the backyard, for example, or sand dollars collected at the beach. These kinds of activities encourage cognitive skills as your baby perceives and utilizes objects in new and different ways.
CLICK HERE for playdough ideas
CLICK HERE for stamping with paint
Contact Paper Sun Catchers
Attach 1- to 2-inch-wide strips of construction paper to the edges of a piece of clear contact paper. Lay the contact paper, sticky side up, on a table or work surface and guide your child to press pre-cut squares of tissue paper, Easter grass, feathers, bits of fabric and yarn scraps to it. You'll need to hold the edges of the contact paper by the frame to prevent it from shifting. Hang your child's creation and talk with her about how the light shines through it to illuminate the objects and cast shadows.
Fun with Paint
Dab paint onto watercolor paper, cardstock or a paper plate. Place it in a Ziploc bag that you've taped to a tabletop or highchair. Show your little one how to press or hit/slap the bag to splatter or smear the paint with a sponge in their hand. Cut the edges and remove painting to let it dry. Cut it into a silhouette or cut a frame in an interesting shape to delight onlookers. Or let her sponge paint three-dimensional objects such as driftwood or large stones. There's a good chance that she'll ditch the brush and use her fingers instead -- let her enjoy making fingerprints and hand prints on paper or a sheet of plexiglass that can be rinsed and reused. CLICK HERE for Ideas
Our Making Art Possible
Website Pages

